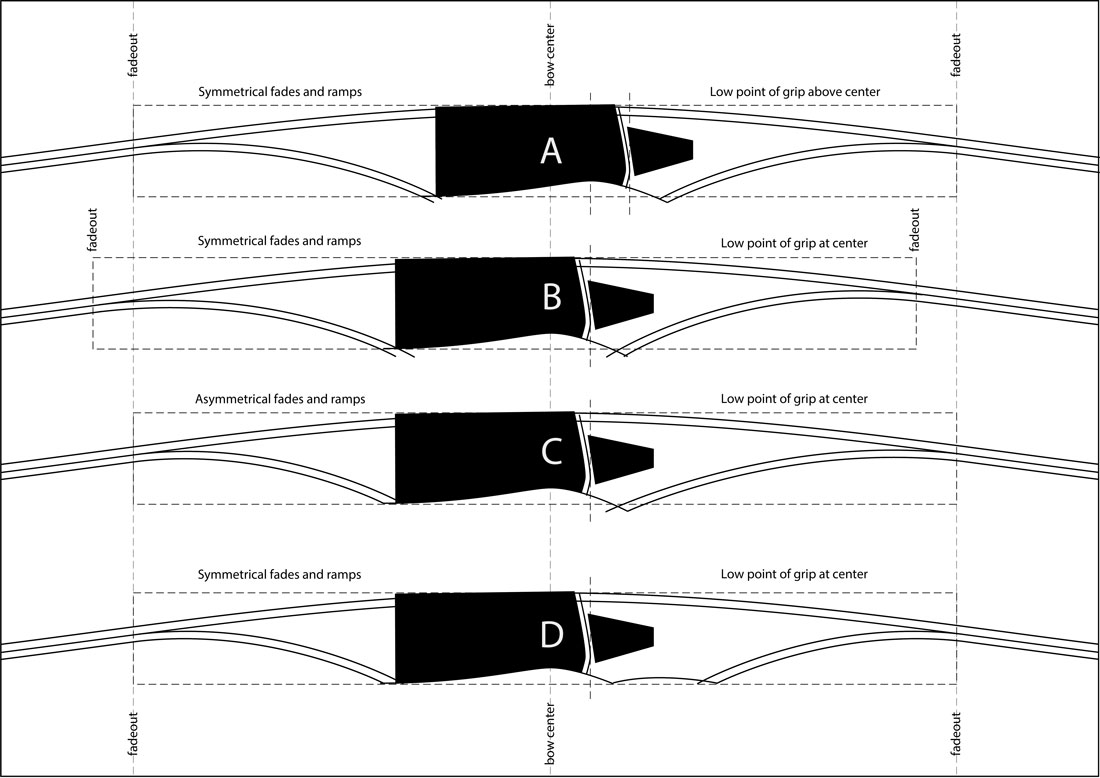
I’ve experimented with making longbows with four different riser layouts. Riser A represents probably the…
String nock files for making bows
When I first started making bows, the best instructions that I could find said to use a “6” rat tail file” for cutting in the string nocks at the limb tips. The 6″ file made a pretty wide string groove that had to also be pretty deep in order to keep the string from slipping out. I remember one time taking a new osage self bow I had just made to my family’s Thanksgiving dinner. My tall, younger brother pulled the bow back pretty far and the top string loop came right off of the bow, sending the bow flying across the room full of people, hitting a bookshelf with awesome force, and making a huge clattering noise. The limb tip of that bow obviously bent far enough for the string loop to slip out of the string groove. After that experience, I started using smaller files for the string grooves. They make a much narrower groove that holds the string loops better. Being narrower, it doesn’t have to be as deep, either, which allows the tips to be made narrower. I’m a great fan of making narrow tips because it reduces moving mass and improves bow performance.
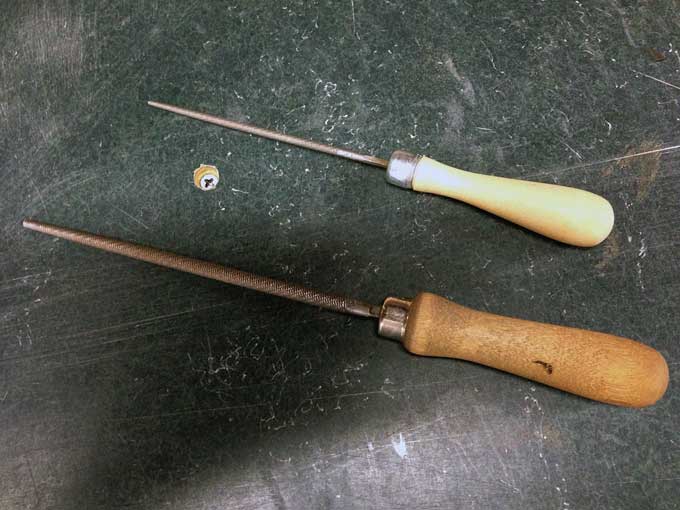
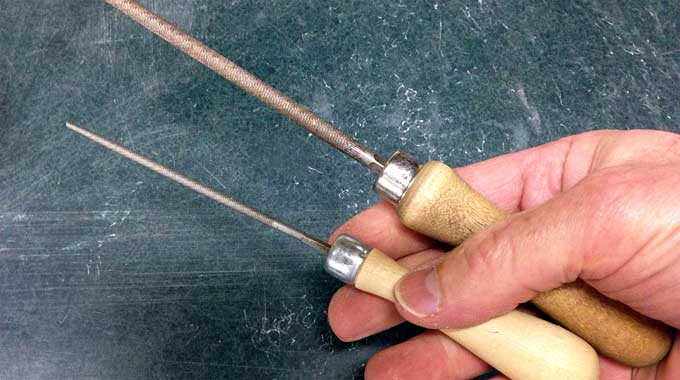
So, my first nock file was a 6″ rat tail file (bottom file in the photo above). It is 6″ long and 1/4″ in diameter. It is probably called a rat tail file because the diameter gets smaller towards the tip. This type of file has pretty aggressive teeth so it cuts pretty fast. Being 1/4″ wide means it makes an even wider string groove. I guess one advantage of the wider string grooves it makes is they allow the string to pivot freely in the groove during the draw as the limb tip bends over. This provides ample string clearance without contacting the sides of the string groove. Obviously, narrower files also make a narrower grooves, which can interfere with the string during the draw if the string groove is not made wider on the sides of the bow. When cutting the string nock grooves on the sides of the limbs, I typically use what I call a “two step method” for cutting the grooves. The first cut is perpendicular across the side of the limb, and the second cut is at an angle. Then I use the nock file to cut out the area between them. This creates a nifty groove that provides clearance during the draw. The string groove stays narrow on the back side of the tip, so when a narrow file is used the string stays in place.
The second nock file I bought was a 4″ rat tail file (top file in the photo above). This one actually measures 4-1/2″ long and is 1/8″ in diameter. This file makes a pretty narrow groove, so it is great for bows using a small diameter string. I like it a lot for strings with just a few strands, like one on a lightweight bow or a speed bow with high performance string material.
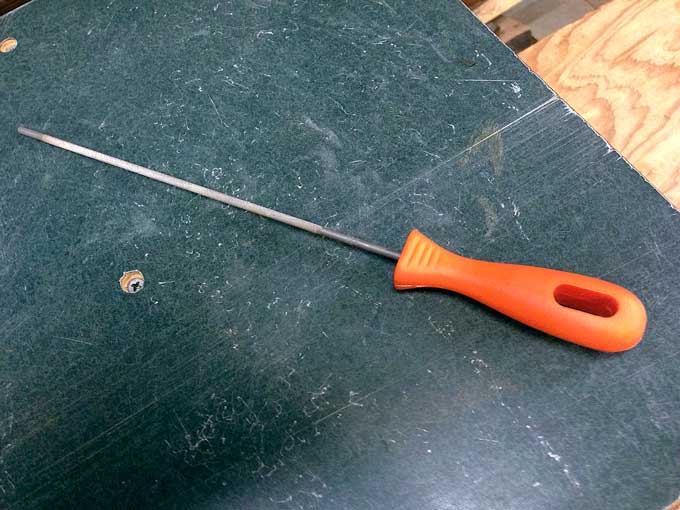
The third type of nock file that I bought, and the type that I currently use for most bows, is a chainsaw file. I bought this file at the local Home Depot store. It came in a package with the file, handle, and a cutting guide. It is the perfect size at 8-1/2″ long and 5/32″ in diameter. The cutting area is about 6-1/4″ long. One of the best things about a chain saw file is that the teeth are finer than the teeth on a rat tail file, so it removes less material per stroke and cuts slower. This makes it much better than a rat tail file for cutting string grooves. When straightening the tips, it is easier to control how deep the nocks are getting on each side, which makes it easier to get them cut to the same depth. This fine file also leaves a smoother groove that needs very little sanding before the bow is sprayed.

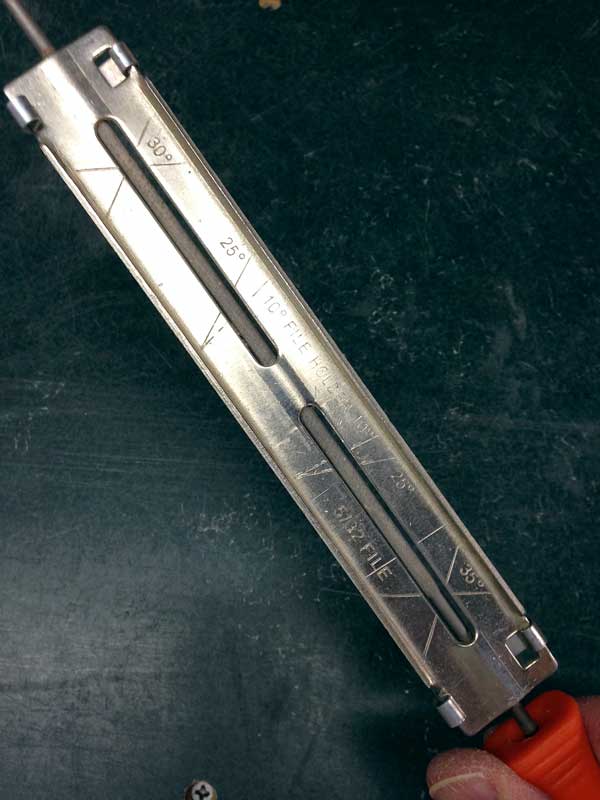

When I bought this file, it came with a handy-dandy guide plate that helps the file stay on the chainsaw tooth and helps it file the tooth at the correct angle. The left photo above shows the bottom of the guide plate, the center shows the top of the plate with the chainsaw tooth angles printed on it, and the right photo shows me measuring the diameter with a caliper. If you look closely, you can see it is 5/32″ in diameter. Instead of throwing this guide plate away when I opened the package (like I often do for stuff that looks like extra junk), I tried putting it on the file and using it for the nocks on the sides of the limb tip. Walla! This guide plate is awesome. When cutting the string grooves on the sides of the tips, it allows them to be filed to exactly the same depth! This really helps for “centering the nocks” when aligning the bow tips. For an explanation of this process, make sure to get my free special report “Easy Alignment of Recurve Bows” on the sidebar of the homepage.
Related Posts
Comments (0)