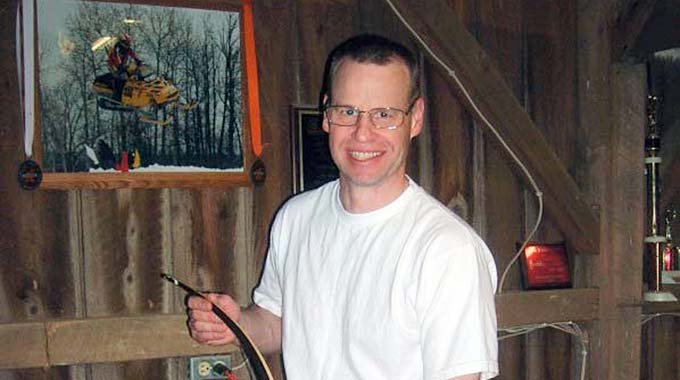
My name is Jim Thorne and I can help you learn how to “build your own bow!” You may already know me as “jwillis” at the internet archery forums where I chat about making bows.
I’ve been an avid outdoor enthusiast since I was a young boy. My wife, son, daughter and I enjoy hunting for deer and turkeys in the woods of central Missouri, and fly fishing for trout in the spring fed creeks and tail water trout fisheries of southern Missouri.
I remember making my first bow from a green stick that I found in the yard when I was a very young boy. I bent it over my knee and tied on a piece of nylon twine for a string. It was simple and primitive but really fun to shoot. The next few days were spent chasing my brothers around the yard and shooting twig arrows at each other while we pretended to be cowboys and Indians. I always liked being an Indian because I could use a bow ‘n arra! Ever since that day, I’ve enjoyed building my own bows.
I really caught the bow making bug in the 1980’s. I started making glass-laminated recurves using a limb design that I traced from a french curve. I spent several years building and testing these recurves, improving the designs and refining my skills as a bowyer. At this time, every time I wanted to change the design, I had to redraw the bow plans by hand with pencil and paper, using a drafting table, straight edge, triangle, and french curves. As you can imagine, each time I wanted to change the design, it took many hours to redraw the plans. I would make a drawing, then step back and look at it from different angles to evaluate the design. Only then could I make new templates and build the new bow to see how it shot. As a professional graphic designer using desktop publishing systems at work, it didn’t take long for me to begin drawing my bow plans on a personal computer when we were able to afford one at home. This really sped up the refinement process, because using the computer I could edit a computer drawing of the bow, print out a new template, and apply it to making a new bow very quickly. I could now accomplish in minutes what used to take many hours. This process led to the creation of what I call the Classic Takedown Recurve.
When my son asked me to make him a longbow a few years later, I also began building reflex/deflex “hybrid” longbows. I wasn’t satisfied with just making one with a straight back and so-so performance, so I began looking around and studied all of the popular designs available. I studied the best features of the best r/d longbows and combined them into my design. I went to work on the computer and came up with a profile. I drew out the profiles in Adobe Illustrator and tweaked the limb design using SuperTiller, a computer modeling program for “stick bows” written in Excel. After several tweakings and bow forms, I settled on the current design that I call the HAMMER Hybrid Longbow. I call it that because it “hits like a hammer and drives nails“…lol. Over the years, I’ve continued to improve the design, making it into a pretty sweet shooter.
At some point it occurred to me that I should build a website to help teach others how to make these bows. It has been a lot of work! When I first started, I had absolutely no idea how big a project this would be and how much work it would take. I’ve spent hundreds of hours and thousands of dollars building and testing the bows, and drawing and re-drawing the blueprints with updates to improve the designs. I’m excited about sharing my bow making experiences and designs. One of the neat things about the internet, is it allows us to quickly share bow making knowledge that used to take many years to pass on from generation to generation. I hope that you can learn from my successes and failures to learn how to “build your own bow!
 Connect with me at Facebook.