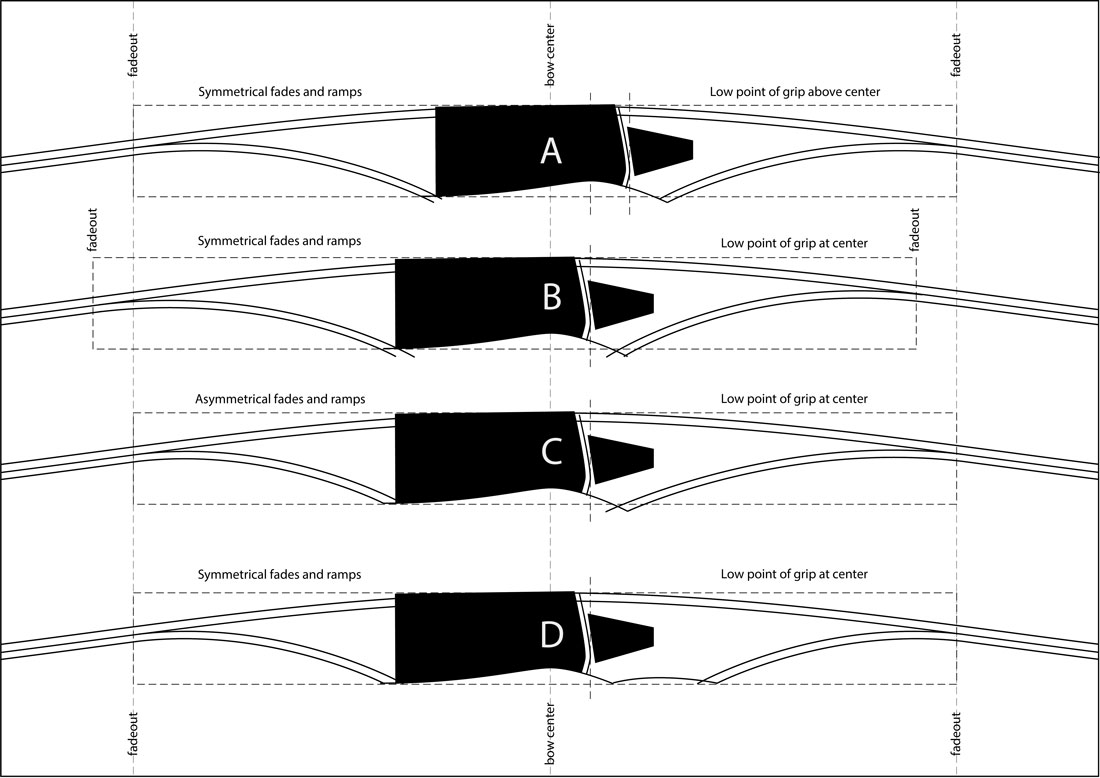
I’ve experimented with making longbows with four different riser layouts. Riser A represents probably the…
Interview with Bill Howland of Brackenbury Custom Bows
This is the first of what I hope will be a series of interviews with custom bowyers. There is so much to learn from these bowyers who work full time doing the craft. I hope you find this information useful in your bow making!
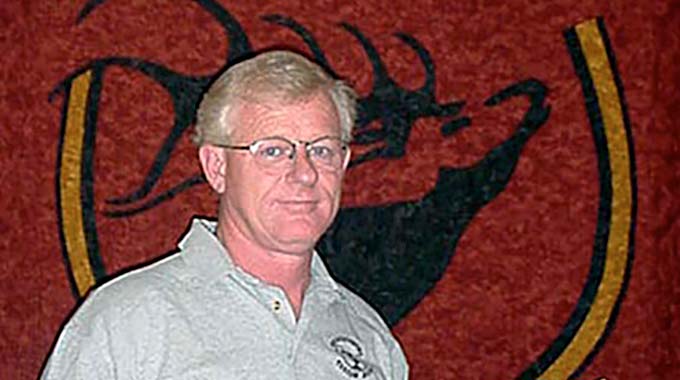
Bill Howland is the owner and bowyer of Brackenbury Custom Bows, Nine Mile Falls, Washington. He has owned and operated the company since August, 2001. The company was started by the late Jim Brackenbury who died in 1991. Bill continues the production of several of Jim Brackenbury’s bow designs. I met Bill at the Pirates of Archery internet forum where we have often shared discussions about making bows. He always has about the best advice that comes from his extensive experience in making custom take-down recurves and longbows.
1. How many years have you been making bows?
I bought this business in 2001, August. Finished the website in September 2001 the day before 9/11. I thought to myself as I watched the attack on the twin towers on TV that morning…”What a fine time to start a new business, during an attack on our country!” I did not know whether my new business was going to survive in such turmoil. Especially being a former Marine, I wanted to go, kick some butt myself. So I recon it’s been 11 years and a couple months of making little pieces of wood outta big pieces. Then gluing the little pieces back together again.
2. What is your favorite style of bow?
I like all bows but my favorite is still the recurve. A well sculptured recurve that has wonderful flowing curves just turns me on! It’s what I prefer to build and shoot. All you’ve gotta do is look at my offerings and see I build one longbow and a bunch of recurves. It’s a sickness I know but there’s just some thing about recurves that get my blood flowing.
3. What is your best advice for a first time bowyer?
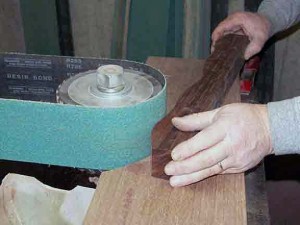
“Oh boy this could be a real long answer to this question, I hope your readers don’t get bored.” If you are in a hurry to just slap out a bow…don’t even start. Take your time! A lot of folks think it is gonna be easy to build a bow whether it’s a long bow or recurve, a one-piece or a take-down. You’ll find out it isn’t. Do a lot of preliminary preparation. Take your time building your forms and if you decide to use jigs make sure they are all square and straight. Don’t use real fancy exotic woods for your first build, cause you’ll probably do some changing before you find something that you are going to be happy showing your friends. Use cheap, soft, easy-to-use materials to get your basic shapes for risers. Heck, I’ve used a pine 2×4 to practice shaping it before tackling an expensive piece of fancy hardwood.
Do a couple simple glue ups in your limb forms. Nobody says you have to put fiberglass or carbon skins on a first time layup in your form. Layup a limb with two cores, a wedge, then substitute the fiberglass or carbon with wood parallels in their place. You can use it to see if you are having problems with your form, glue up technique, etc. If you do have problems you are not out of a lot of money…just time. If these limbs comes out just fine you can square one of them, drill it and cut to length. In the other limb do the same thing, then shape the edges to the tip. Then you have two useful templates. On the average I build around 10-to-20 prototypes before I’m happy with a bow design. Take your time and don’t rush it. It takes time, so enjoy the process of learning to build bows.
4. What is your best advice for an experienced bowyer?
Heat your limbs not your risers! That advice is for the guys/gals that are building take-down bows. I don’t ever heat my risers. When I did I had problems…I don’t any more. Just glue ’em up, clamp ’em and let them sit in the clamps 24 hours at room temp. We don’t need heat to cure Smooth On. The heat makes the big pieces of wood move and that’s when problems arise in a riser. And to compound the issue we usually put two or three different types of wood in the riser which expand and contract differently. Save yourself some problems, time, and money don’t heat your risers. And even for the guys/gals that are building one piece bows avoid heating those thicker pieces of wood. You can design a single limb form and use heat tapes to avoid heating the thicker woods. I know there’s gonna be folks out that say, “I’ve been heating my risers for years and never had any problems.” And that’s fine, maybe you’re just better at it than me? I look at it like this…if you have very square ultra tight glue joints you don’t need to heat the riser to cure the epoxy. Because when you heat the wood it expands then you take it out of the heat (after the epoxy has cured) then the wood contracts…but the epoxy that is hard doesn’t contract as much or at a different rate…Hmm? If nothing else, hopefully, I will get you thinking.
5. What is your best advice for someone who wants to become a custom bowyer?
Talk and listen to your customers. I know it takes time out of your busy build schedule. If it wasn’t for them there’s no reason to build bows professionally. Customer service is number one in my book. I hear it all the time; “It’s between you and another bowyer but the other bowyer just doesn’t seem to want to talk to me so I want you to build my bow. Because you’ve taken the time to listen to what I am looking for out of my bow and answered all of my questions.”
6. Do you have a favorite bow making tip you are willing to share?
Tip: Buy Low sell High! Oh wait a minute sorry that’s for another interview. Ya know this is a tough question…not because I don’t want to give away trade secrets or any thing like that. There are no secrets just a lot of hard work. I’ve just learned a lot over the years. Actually I joke all the time that I could make a lot of bows when I didn’t know what I was doing. So I guess the best tip is to learn what you are trying do and don’t cut corners thinking it could be or would be faster because it usually isn’t. There’s certain steps that have to be done. Just do them, and do them right the first time because do-overs suck.
7. Do you have a favorite bow making tool or machine?
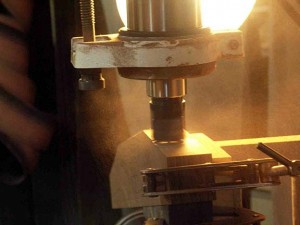
The last question was tough and this one is easy. The best investment in my shop was the milling machine or mill/drill. Precision is the key in my bow building process. Having the ability to make everything square from start to finish is a big time saver especially once you get to the point when you are marrying three pieces together (riser and limbs). It’s not an absolute necessity to build bows but it should be if you are building take-down bows. I use it in a lot of the process from squaring out a block of wood, cutting limb pad angles, drilling hardware holes, to cutting string grooves. I looked at CNC machines and I’m sure I could find a use for one, but I still pride myself in building hand made bows with the twist of precision added. Besides, those fancy CNC Machines are wickedly expensive and I just don’t have that kind of money or time to invest. Yeah I can build ’em faster without a Mill, but I can build them more accurately with it.
8. What is your favorite riser material and lamination material? Why?
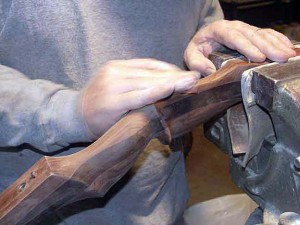
Riser materials are numerous. But when push comes to shove I always answer “zebrawood.” Why? I’m a hunter first and a flat sawn piece of zebrawood just makes perfect camouflage in my hunting areas. Besides that it is very stable, has very good mechanical properties, i.e. it is strong, and it is not oily so it glues up really well. Laminations are a little more complicated because it’s a little different for long bows and recurves. In a longbow, I like a combination of bamboo and yew primarily because of my limb construction practices. I use a bamboo forward taper and parallel and a reverse taper of yew. Bamboo has the characteristic of being very smooth during the draw and the yew is very light and fast moving when used as a reverse taper. For recurves, I use tapers of many types for different reasons…I know the cores in a recurve limb really do not do anything and air is the best one..yada yada..but my favorite is a heavier wood that most do not consider to be a good core lamination…wenge. Wenge has very straight grain, very porous, and it has fantastic spring qualities. Oh, and the dark brown color really goes well with Zebrawood.
9. What are you most excited about in archery right now?
I’m excited to see trad archery still growing. I’m still getting calls from guys and gals coming off compounds wanting more of a hunting challenge…guys and gals calling or emailing and asking if I could help them with a challenge in bow building. What does bother me is less and less young people are getting into trad archery. The gun industry is having the same problems with that. So here’s a hint: Build your kids a bow first! And if you don’t have kids get one in the hands of your nephew or niece. If that still doesn’t work for ya, build one for a neighbor kid. It’s a great way to start to learn how to build bows cause kids ain’t picky. They’re just happy with anything you hand them that they can pull and fling arrows. Then go the farther step and teach them woodsmanship.
10. Are you working on something new?
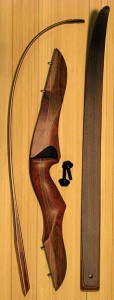
Yeah, I’m one of those bowyers that has to have something in the works…my problem is I think about stuff too much. I’d probably make more if I’d just lean down what I build and simplify the offerings like some bowyers I know have. I’m still in the prototype phase on a new take-down recurve that right now I’m calling K2. It’s more of a target/3D bow being 64 to 66″ and designed to make it a little more stable in lower poundage draw weights than my other offerings. Building a very lateral, stable, 65# limb is relatively easy, but building a long, working limb in the 35-45# range is a little more challenging. Have I bought in to the craze of ultra lateral stable limbs yet?…not really but I’m trying. I’ve got two out right now in the hands of real good target archers and so far their feedback has been very good. Then I hope to come out with an economically feasible, but yet bullet proof youth bow, because I really believe in the statement that I made earlier about getting our kids involved. That is going to be a real challenge—because a lot of the kids grow so darn fast—so I’ve gotta come up with a take-down limb system that can grow with the child to teen age, and keep it affordable so parents and/or mentors can supply their youth with a bow that the kids can grow with.
—W. Bill Howland
Please feel free to make a comment below and share this article at Facebook and Twitter.


I find it interesting and affirming that Bill says not to heat wood risers. I came to the same conclusion several years ago. I remember getting questioned and criticized about it in forums. I discovered this through the school of hard knocks when I ruined a couple of beautiful and expensive cocobolo/bloodwood footed longbow risers. The cocobolo changed in size and pulled away from the other woods, leaving gaps in the glue lines. I also learned to buy riser wood in advance and let in acclimate in my workshop for six months to a year before using it in a riser.
Thanks Jim. Learned some new things.Nice interview.
Maby a idea for a interview on american flatbows Dave Johnson. He makes cedar longbows. Not a wood many bowyers use. And he is dooing it for a long time. Look him up at http://davejohnsonlongbows.com/.
Mark, thanks for the recommendation! That is a good idea.
Thanks, Jim. And thanks, Bill.
I have a.060 and a.070 bingham glass along with the maple laminations they were given to me. I have been told the glass was to thick. Can't I use less maple lam for a 40lb long bow.
Sure, that should work just fine, but for a 40 lb longbow the wood core is going to be thinner than what is optimal. The optimum glass to wood ratio seems to be about 25% glass to 75% wood. I recommend .040" glass on both the back and the belly for a 40 lb. longbow. Probably the best option is to grind the glass in a thickness sander down to .040". I grind my glass sometimes if and when it comes from the factory with unequal thickness. If you don't have a thickness sander or know anyone to do it for you, try setting up your own with a spindle sander or small, 4" x 36" belt sander. Or, you can make your own like the one shown on this thread… http://localhost/byob_update/how-to-make-a-simple-thickness-sander-for-bow-laminations/
The laminations are 13/4 wide.